

Hi friends,
Finishing furniture can be hard work and quite time consuming. But the hard work is well worth it if you know the outcome will be a beautiful piece of custom furniture created especially for your home. Today I am going to share an easy guidebook on how to paint furniture “for beginners”!
I know some of you may think you only need a paintbrush and a can of paint right? But if you want a professional look that is going to last, then there are some important guidelines you need to follow.
First you have to decide what kind of finish you want your piece of furniture to have. For this guide I am just going to share the basic finishing techniques for a piece of real wood furniture.
What to buy before starting the job:
1-Oil soap
2-Medium grit sandpaper
3-Fine grit sandpaper
4-Primer
5-Tack cloth
6-Paint
7-Paint brush
8-Foam roller
9-Top coat
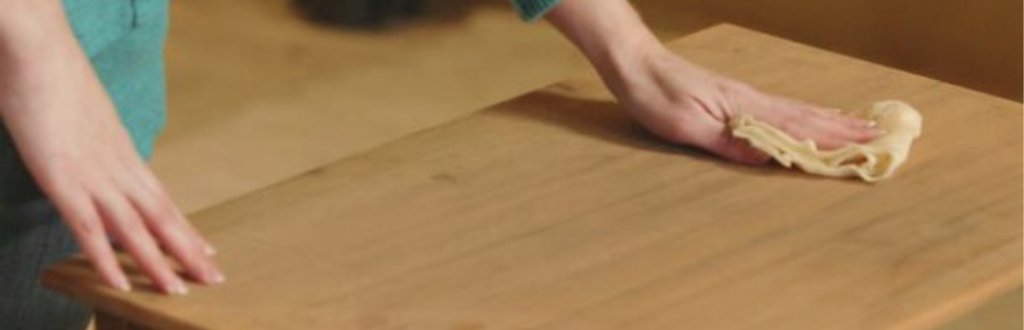
Step 1: PREP PREP PREP
First things first, you need to make sure you have removed all of the hardware and give your wood piece of furniture a very good cleaning. This is where your oil soap will come in handy, it works great and will be safe on the wood.
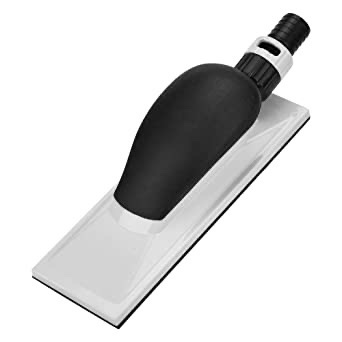
Step 2: SAND
Give your furniture a really good sanding, make sure you remove any old flaking and peeling paint or any shiny stain that was previously on the piece. You need a really good base for your new paint to stick. This is where you will use your medium grit sand paper. The fine grit sand paper is what can be used between coats if needed.
Step 3: Prime
After your furniture is sanded, dry and dust free, paint on the primer. This will help the new paint adhere to the piece of furniture much better, and give you beautiful lasting results. If you have any stains or discolouration in the wood this will also help hide that.
Step 4: SAND AGAIN
Once your primer is dry use your fine grit sand paper to lightly sand your piece. Do this between every coat of paint. This will help give you a professional finish that should last for years to come. Don’t forget to remove any dust from sanding each time!
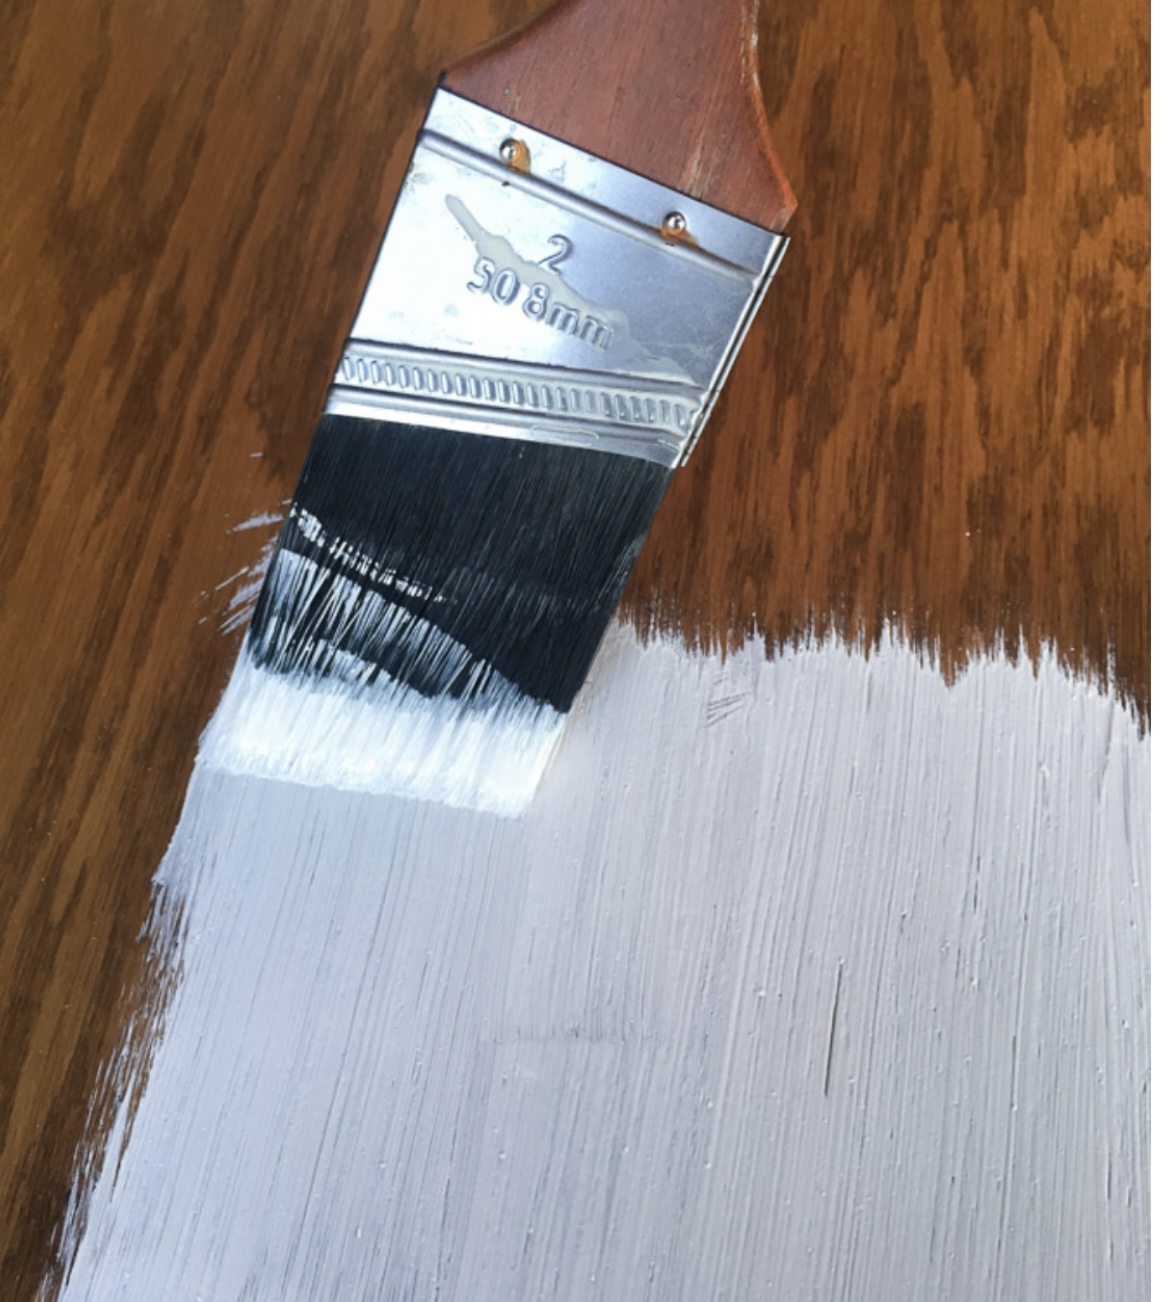
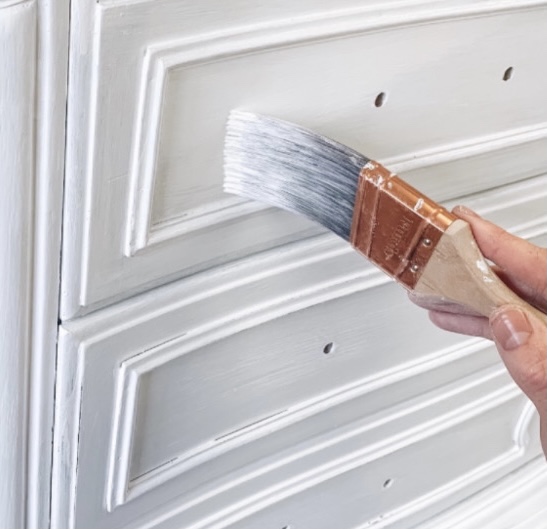
Step 5: PAINT
Now that your piece is primed and ready, it’s time to paint! I normally choose a semi gloss finish (I do not recommend flat as it will show every nick and finger print, and it’s much harder to keep clean).
REMEMBER: the glossier the finish the easier it is to keep clean.
Paint thin coats and repeat as needed, don’t forget to sand between each coat. I normally like to paint 2 to 3 coats!
STEP 6: PRIMER
Once you have applied your 2-3 coats and the paint has dried (I recommend waiting 24 hours) it’s time to prime. Priming is going to add extra protection so that your piece has a nice long life and is easier to wipe and clean.
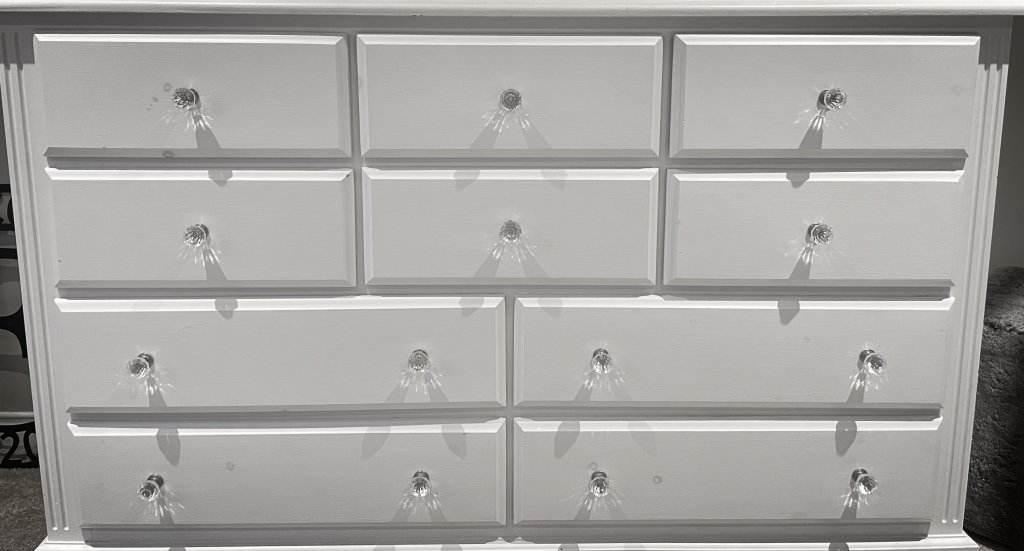
Let your piece dry for a day or two just to be safe. Then it’s time to put your hardware back on and “VOILA” your done!


I hope this has been helpful if you are hoping to tackle your first piece! If you have any questions feel free to send me a message I would love to hear from you!
Taryn 